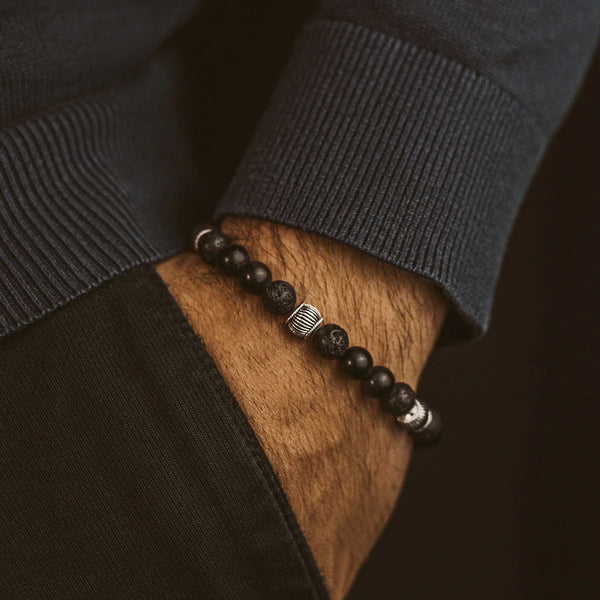
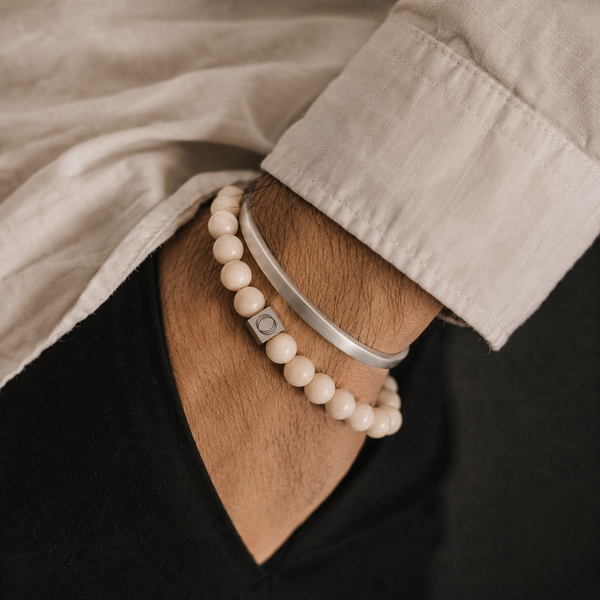
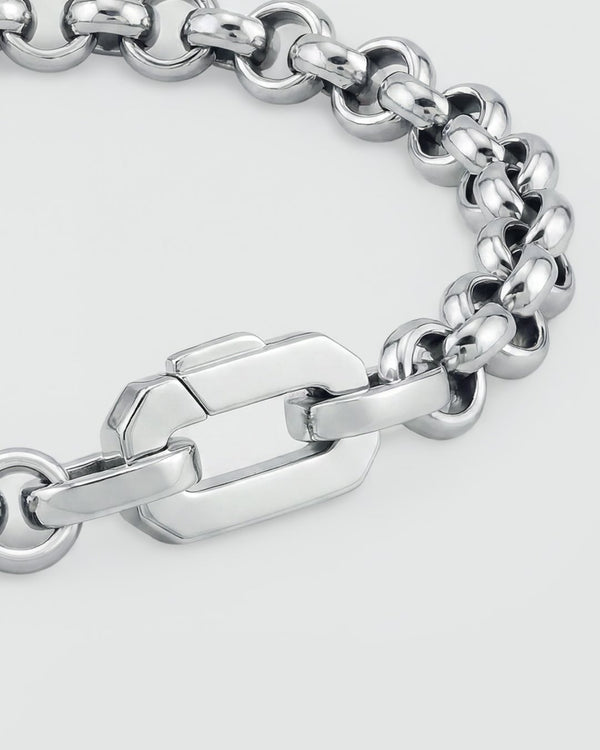
To fix a beaded bracelet, first identify what has gone wrong. A snapped elastic cord needs restringing. A broken or missing bead needs sourcing and replacing. A damaged clasp needs removing and replacing with a new one. A frayed knotted cord needs the affected section retied or the whole bracelet restrung. Each problem requires a different approach and different tools.
A broken beaded bracelet is a solvable problem in most cases. Knowing how to fix a beaded bracelet correctly starts with identifying exactly what went wrong before attempting any repair. Applying the wrong fix wastes time and materials. Knowing how to fix beaded bracelet problems means matching the repair to the specific failure type. This guide covers how to fix a beaded bracelet for every common problem type and construction, from a snapped elastic cord to a broken clasp, with a clear decision guide for when a repair is genuinely worth the effort.

Diagnosing Your Beaded Bracelet Problem
The first step in any guide to how to fix a beaded bracelet is understanding which specific problem you are dealing with. Most beaded bracelet failures fall into one of five categories, and each requires a different fix. Misidentifying the problem leads to the wrong repair. That is why any how to fix a beaded bracelet guide should start with a clear diagnosis.
Snapped or Stretched Elastic Cord
A snapped elastic cord is the most frequent problem that leads people to search for how to fix a beaded bracelet. The signs are clear: the bracelet is in two pieces, beads are scattered, or the cord is visible and loose inside the bead holes. In some cases the cord has not fully snapped but has stretched permanently and will not return to its original tension. Both situations require the same fix: full restringing on new elastic cord.
Broken, Cracked, or Missing Beads
A broken or missing bead is a different type of problem from a snapped cord. The rest of the bracelet is intact and the cord is in good condition, but there is a visible gap, a cracked stone, or a bead that has shattered. This is the only type of beaded bracelet problem where a targeted single-bead repair is sometimes possible without disturbing the rest of the bracelet. Whether that is the right approach depends on the bracelet construction and whether a matching replacement bead can be found.
Broken or Damaged Clasp
A bracelet with a broken clasp presents a specific how to fix a beaded bracelet challenge. It will not stay on the wrist. The clasp either fails to close, fails to hold, or has physically broken away from the cord or wire. The rest of the bracelet is usually undamaged. This is one of the more overlooked bracelet problems, because the piece looks fine but simply falls off during wear. Fixing it requires removing the damaged clasp and replacing it with a new one of the same or similar type.
Frayed or Deteriorating Cord
A frayed or deteriorating cord is the most urgent how to fix a beaded bracelet situation to address before it becomes a snap. The bracelet still holds together but the cord is visibly weakening at the bead holes, appears chalky or fuzzy, or feels stiff and brittle. Wearing a bracelet in this condition risks a sudden snap during movement, which is more likely to scatter beads than a controlled break. The correct fix is to restring before the cord fails rather than after.
See more: How to Tighten a Beaded Bracelet: Elastic, Cord and Adjustable Styles
The Fix for Each Problem
Once you have identified the specific problem, the table below maps it to the right fix, the difficulty involved, the tools required, and a realistic time estimate. This is the most useful reference point before starting any repair, and it covers the full range of how to fix a beaded bracelet situations a worn piece is likely to present.

The two most common scenarios in how to fix a beaded bracelet, snapped elastic and frayed cord, both require a full restring and take a similar amount of time. The clasp replacement is the only fix that requires a specialist tool. Everything else can be done with materials available in most homes.
How to Fix a Beaded Bracelet with a Snapped Elastic Cord
This is the most frequently needed repair and the core of any how to fix a beaded bracelet guide. The process involves collecting the beads, measuring new cord, threading the beads back in order, tying a secure knot, and sealing it. Done correctly, a restrung bracelet on quality elastic is as strong as a new one.
Step One: Gather and Organise the Beads
Before doing anything else, collect every bead from the bracelet and lay them in sequence on a bead mat or folded cloth. Count them. If the bracelet has a pattern or mixed bead types, record or photograph the sequence before disturbing it. Proceeding without the full bead count or the correct order is the most common reason a restrung bracelet looks different from the original.
How to Restring Step-by-Step
1. Cut a length of new elastic cord approximately 25 centimetres longer than your wrist measurement. This extra length gives you enough to work with at both ends when tying the knot.
2. Thread the beads back onto the cord in the correct sequence. A beading needle helps with smaller bead holes. Keep the cord taut as you thread to maintain tension.
3. Once all beads are on, bring the two cord ends together inside the last bead hole. Tie a surgeon's knot: cross one end over the other twice, then pass the same end back through the loop a second time in the opposite direction. Pull firmly.
4. Apply a small drop of jewellery glue or clear flexible adhesive to the knot. Allow it to become tacky before trimming the cord ends close to the knot.
5. Tuck the trimmed ends and the sealed knot inside the nearest bead hole. The knot should sit inside the bead rather than on the cord surface where it will be visible and susceptible to catching.
Choosing the Right Elastic for the Repair
Not all elastic cord produces the same result. When you learn how to fix a beaded bracelet with snapped elastic, the choice of replacement cord directly affects how long the repair lasts. For small beads with tight holes, a diameter of 0.5 to 0.6mm works well. For heavier natural stone beads such as lava, tiger eye, or obsidian, use at least 0.8mm elastic to handle the additional weight without overstressing the knot. Elastic sold in pound shops or general craft stores is often lower quality and will degrade faster than jewellery-grade elastic from a dedicated beading supplier.

How to Fix a Broken or Missing Bead
A single broken or missing bead does not always require restringing the entire bracelet to fix. Whether a targeted repair is possible depends on the bracelet construction and how easy it is to source a matching replacement bead.
Can You Replace a Single Bead?
On an elastic cord bracelet, knowing how to fix a beaded bracelet with a single broken bead requires cutting the cord at the affected point, removing the damaged bead, threading in a new one, and retying the cord. This is only practical if the bracelet has enough cord length remaining to tie a secure knot after the cut, and if the replacement bead matches the original closely enough to sit without looking out of place. On a knotted cord bracelet with individual knots between each bead, a single bead replacement is simpler: untie the knots on either side of the damaged bead, swap it out, and retie.
What to Do If You Cannot Find a Matching Bead
Natural stone beads are cut from unique material, and finding an exact colour and pattern match for a lost or broken bead is often not possible. In this situation, there are two practical routes. The first is to accept the mismatch as part of the bracelet's history and use the closest available match. Over time the replacement will take on a similar wear pattern. The second is to treat the breakage as an opportunity to restring the bracelet entirely with a new set of beads, either the same stone type or a different one that suits the current aesthetic. A bracelet that is already a few years old and showing cord wear may benefit more from a full refresh than from a single bead patch.
For help identifying stone types and finding the right replacement match, the Men's Beaded Bracelets with Meaning guide covers the most common stones used in men's bracelets and their distinguishing characteristics.
How to Fix a Broken Clasp on a Beaded Bracelet
A broken clasp is one of the more frustrating beaded bracelet problems because the bracelet itself looks perfect but simply will not stay on. Fixing it requires identifying the clasp type, removing the damaged component, and attaching a replacement. This is one area of how to fix a beaded bracelet that benefits from taking a moment to identify the specific clasp mechanism before attempting a repair.

Identifying the Clasp Type
The most common clasp types on men's beaded bracelets are the lobster claw, the toggle, the magnetic clasp, and the box clasp. Lobster claws attach via a small spring mechanism and are the most frequently replaced because the spring can weaken over time. Toggle clasps consist of a bar and ring and rarely break but can detach from the cord. Magnetic clasps are the most likely to fail over time because repeated magnetic contact weakens the bond. Box clasps snap into a housing and can fail if the housing deforms. The replacement part needs to match the original clasp type to work with the bracelet's existing construction.
Replacing a Clasp: Step-by-Step
1. Using flat-nose pliers, open the crimp bead holding the old clasp to the cord. If the bracelet uses a loop-and-knot attachment rather than a crimp bead, carefully untie or cut the attachment without disturbing the rest of the bracelet.
2. Remove the damaged clasp and discard it. Inspect the cord end for any fraying or damage. If the cord is compromised at the attachment point, trim back to sound material before continuing.
3. Thread the cord end through a new crimp bead, then through the loop of the new clasp, and back through the crimp bead again to create a loop. Position the crimp bead close to the clasp loop.
4. Using the crimping tool, compress the crimp bead firmly in a single action. A well-crimped bead should hold without shifting when the clasp is opened and closed under normal wear tension. Test before trimming the cord tail.
For bracelets where the clasp has been a recurring failure point, exploring designs built with more robust closure mechanisms is worth considering. Browse Men's Silver Bracelets to see clasp options across the full range.
When to Fix vs. When to Replace
Not every repair is worth making. Knowing when a repair is the right choice and when replacement makes more sense is part of understanding the full picture, and it is a question that most repair guides avoid answering directly. The honest answer depends on the condition of the bracelet, the time investment required, and whether the materials needed are readily available.
Signs a Repair Is Worth It
Knowing how to fix beaded bracelet damage correctly means recognising when a repair is genuinely the right choice. That is when the damage is isolated to one problem and the cord is otherwise in good condition, the bracelet has sentimental or aesthetic value that makes the effort worthwhile, and the replacement materials are available and affordable. A beaded bracelet that snapped at the knot after two years of daily wear but is otherwise in excellent condition is a strong candidate for restringing. The beads are sound, the cord length is recoverable, and the repair will restore the bracelet to full function within an hour.

Signs It Is Time for a New Bracelet
A replacement makes more sense when repair is no longer viable because multiple problems are present at the same time, when the elastic has snapped more than twice in the same bracelet, when the stone beads show cracking or significant discolouration, or when the total cost and time of repair approaches the cost of a new piece. A bracelet where the cord is fraying, two beads are cracked, and the clasp is loose is presenting three problems simultaneously. Fixing one will not address the others, and the underlying materials are at the end of their lifespan regardless.
See more: Does Silver Tarnish? Men's Bracelet and Chain Care Explained
FAQ: How to Fix a Beaded Bracelet
How to fix a beaded bracelet without any special tools: is it possible?
Yes for the most common repairs. The how to fix a beaded bracelet process for elastic cord requires only scissors, new elastic, and jewellery glue. Retying a loose knot requires only a pin or toothpick. The one fix that requires a specialist tool is clasp replacement, which needs a crimping tool to compress the crimp bead correctly.
What type of glue is best for fixing a beaded bracelet knot?
A purpose-made jewellery glue or clear-drying flexible adhesive gives the most durable result. Clear nail varnish works as a widely available alternative. Avoid standard superglue, which becomes brittle over time and does not flex with the cord during wear, increasing the risk of the sealed knot cracking.
How to fix a beaded bracelet when some beads are lost or missing?
If the beads lost are a common stone type, a craft or bead shop can often supply close matches. If the bead is unusual or was part of a specific pattern, an exact replacement may not be possible. In that case, you can restring with an intentionally different bead as a design update, or restring the entire bracelet with a new set of beads.
How long should a beaded bracelet repair last?
A successful how to fix a beaded bracelet restring on quality elastic should last one to two years with daily wear before the cord begins to fatigue again. Restringing on knotted cord lasts longer but is more time-consuming to redo. A clasp replacement lasts as long as the clasp quality, typically several years with normal use.
Is it worth paying a jeweller to show me how to fix a beaded bracelet professionally?
For simple elastic restringing or knot retying, a jeweller is unlikely to add much over a careful home repair. For clasp replacement on a wire-strung bracelet, particularly if the crimping needs to be done correctly under tension, a jeweller's tools and experience reduce the risk of a second failure. If the bracelet has significant value, either monetary or sentimental, professional repair is worth the cost.
Final Thoughts
Knowing how to fix a beaded bracelet correctly, and following the right steps for the right problem, means the difference between a bracelet that is fully restored and one that is only patched. Diagnose the specific problem first, match the fix to the problem type, and use materials suited to the weight and style of the bracelet. When the repair is done well, a fixed bracelet wears as well as it did when new. If the time has come for a replacement rather than a repair, explore the full range of solid sterling silver and natural stone beaded bracelets at Men's Beaded Bracelets, each strung to last through daily wear.