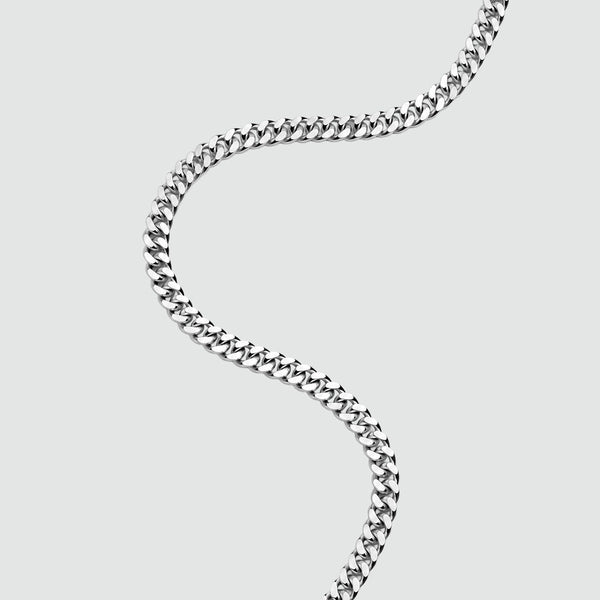
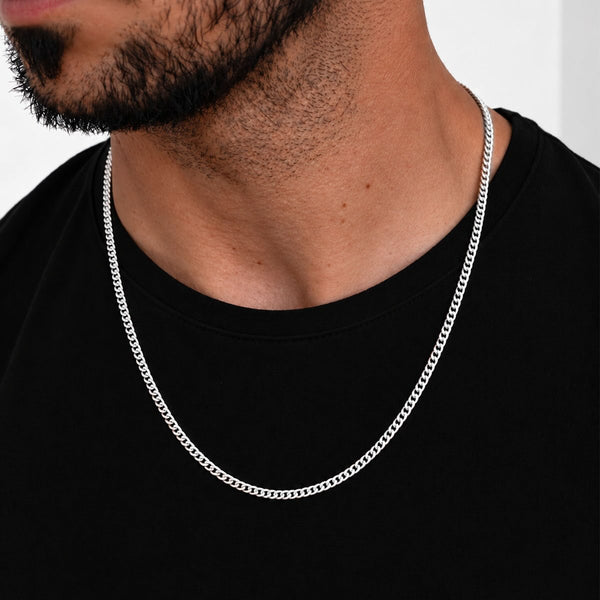
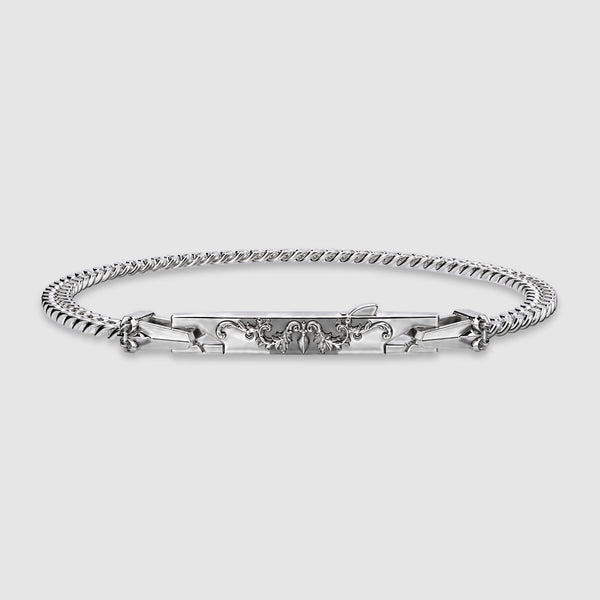
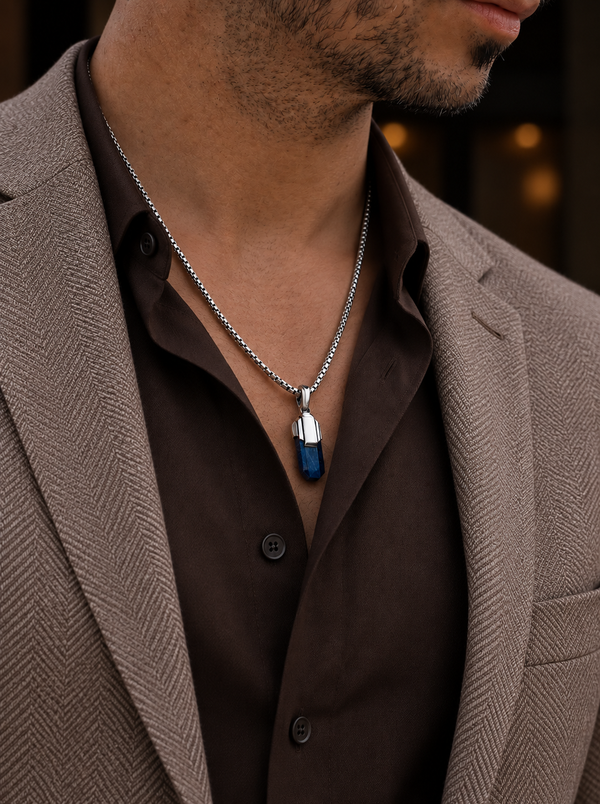
To make a silver chain by hand, you coil fine silver wire around a mandrel to create uniform jump rings, cut them open with flush cutters, then link them together using two pairs of pliers. The linked chain is then soldered to secure each join and polished to a finish. Most chain styles take between two and eight hours to complete depending on the complexity of the link pattern.
Understanding how to make silver chain gives you a different relationship with the one you wear. This guide covers how to make a silver chain from first principles. The process of how to make a silver chain is older than almost any other jewellery-making technique, and the core steps have changed very little over centuries.This guide explains how to make a silver chain from the raw wire to the polished result.

What You Need to Make a Silver Chain
Before you can learn how to make a silver chain, you need both the right materials and the right tools. The material choices determine the quality of the finished piece. The tools determine how precisely and safely you can work. Getting both right from the start saves a significant amount of frustration, particularly for anyone approaching chain-making for the first time.
Materials
The primary material for making a silver chain is silver wire. For a 925 sterling silver chain, you use wire with a 92.5 percent silver content, which is the same standard used in finished jewellery sold with a 925 hallmark. Wire gauge refers to the thickness of the wire and has a direct effect on the weight and visual character of the finished chain. A gauge of 20 to 22 works well for most basic chain styles. Thinner wire produces a more delicate chain; thicker wire produces a heavier, more substantial one. In addition to wire, you need silver solder and flux for soldering the joins, and a pickling solution to clean the metal after heat work.
Tools
The table below covers the key tools needed to make a silver chain at home, along with whether each one has a workable substitute and how beginner-friendly it is in practice.

The soldering torch is the one tool on this list with no safe substitute and a meaningful learning curve. Everything else can be sourced inexpensively and used with minimal prior experience. If you want to know how to make a silver chain without soldering, it is possible to link jump rings without fusing the joins, but the chain will be less durable and more prone to catching and opening during wear.
How to Make a Silver Chain: Step-by-Step
The core steps of how to make a silver chain are consistent across most chain styles, though the linking pattern varies by design. The steps below describe the fundamental method used to make a cable or belcher chain, which is the most accessible starting point for anyone new to chain-making.
Step 1: Coiling and Cutting Jump Rings
Wrap silver wire tightly and consistently around a mandrel, working along its length in a close coil. The diameter of the mandrel determines the inside diameter of your jump rings, which in turn determines the visual scale of the chain. Once coiled, slide the coil off the mandrel and cut it into individual rings using flush cutters. Cut in a single firm motion rather than multiple passes to produce a clean join surface. Consistency in ring size is one of the most important factors in producing a chain that looks professional rather than irregular.
Step 2: Linking the Chain
Open each jump ring by gripping it with two pairs of pliers and rotating the cut ends apart in a twisting motion rather than pulling them directly apart. Pulling distorts the ring's shape and makes it difficult to close cleanly. Thread the open ring through the previous link in the chain, then close it by reversing the twist until the cut ends meet flush. Work along the chain systematically, adding one ring at a time and checking that each join closes neatly before moving to the next. The link pattern at this stage determines the final style of the chain.
Step 3: Soldering the Joins
Soldering is what separates a durable silver chain from one that will pull open during wear. Apply a small amount of flux to each join, then use a fine brush or pick to place a tiny chip of silver solder at the join point. Apply heat from the torch in a gentle sweeping motion, moving toward the join rather than directing the flame directly onto it. The solder flows when the metal reaches the correct temperature and should flow into the join rather than balling up on the surface. Work along the chain methodically, soldering each ring in sequence and quenching the chain in water between sections to keep the metal manageable.

Step 4: Finishing and Polishing
After soldering, place the chain in a pickle solution to remove the oxidation layer that forms during heat work. The chain will emerge with a matte, slightly rough surface. Rinse it thoroughly in clean water before the next step. Polishing can be done with a silver polishing cloth for a hand-finished result, or with a rotary tumbler containing steel shot for a more consistent high shine. The tumbler method produces a brighter, more even finish and requires less physical effort, though it adds equipment cost. A final pass with a polishing cloth removes any remaining dullness and reveals the full reflective quality of the sterling silver surface.
See more: How to Polish a Silver Chain: Methods, Mistakes and Care Tips
How Long Does It Take to Make a Silver Chain?
The time it actually takes to make a silver chain is one of the most practically useful pieces of information for anyone considering the craft, and one of the least discussed in most guides. The honest answer is that it depends significantly on the chain style, the maker's experience level, and whether soldering is included. The table below gives realistic estimates for five common chain types.

These figures assume a single chain of standard necklace length (around 50 to 55 centimetres) and include soldering time. A beginner making their first cable chain should expect to spend a full working day on the project including setup, mistakes, and the learning that comes with working a new technique. An experienced maker working on a repeat design works much faster, but even at that level, making a silver chain by hand is a significant time investment relative to wearing one.
Handmade vs. Machine-Made Silver Chain
Most silver chains available to buy are not made by hand in the way this how to make a silver chain guide describes. Understanding the difference between handmade and machine-made silver chain is useful both for anyone considering making their own and for anyone wanting to make an informed purchase decision.
How Machine-Made Chains Are Produced
Industrial chain-making machines produce silver chains by forming and linking individual links in a continuous automated process. The wire is fed into the machine, cut, shaped, and linked at speeds that produce metres of chain per minute. The resulting chain is then soldered, cleaned, and finished in further automated steps. This process does not produce an inferior result. The quality of a machine-made silver chain depends on the silver purity used, the precision of the machinery, and the quality of the finishing. A well-made machine chain in 925 sterling silver is a durable, consistent, and attractive piece.
What Handmade Chain Offers
A handmade silver chain offers things that machine production cannot replicate: bespoke sizing, custom link dimensions, intentional irregularities that give the piece a character specific to the maker, and the ability to work in patterns too complex for standard chain-making machinery. The time cost of hand-making a silver chain is reflected directly in its price. A handmade silver chain that took eight hours to produce at a jeweller's professional rate carries a very different cost structure from one produced by machine in minutes. Neither is inherently more valuable, but they are different objects in terms of what they represent.
What Matters Most in a Silver Chain
Whether a chain is made by hand or machine, the factors that determine its long-term quality are the same: silver purity, link construction quality, clasp durability, and surface finish. A 925 hallmark on the clasp or a link confirms that the silver used meets the sterling standard. A chain that has been properly soldered and finished will hold its joins under daily wear. The method of production matters less than the standards applied throughout it.
See more: Real vs. Fake 925 Sterling Silver: How to Tell the Difference
Can You Learn to Make Silver Chain at Home?
The honest answer is yes, with significant caveats. Learning how to make a silver chain is accessible to most people willing to invest time in the process. The soldering steps require proper setup, safety precautions, and ideally some instruction before attempting them independently. Understanding what is and is not feasible at home helps set realistic expectations before committing to equipment and materials.

What You Can Realistically Do Without Specialist Training
The jump ring coiling and linking stages of chain-making require no specialist knowledge and carry minimal risk. A beginner who wants to try how to make a silver chain with flush cutters, two pliers, and silver wire can produce a linked result in an afternoon. The result will not be soldered, which means the joins can open under stress, but as a way to learn the mechanics of chain construction and get a feel for the process, it is a completely achievable starting point. Many jewellery-making courses start students exactly here before introducing heat work.
Where to Learn Chain-Making Properly
For anyone who wants to master how to make a silver chain to a professional standard, including soldering, a jewellery-making course taught by an experienced maker is the most efficient path. Evening classes, weekend workshops, and short courses run by jewellery schools cover the fundamentals in a structured environment with proper equipment and direct feedback. Online tutorials are widely available and useful for understanding how to make a silver chain in theory, but they cannot replicate the hands-on correction that makes the difference between a beginner and someone who can work confidently with heat and silver.
For those who want the craft without the learning curve, the full range of solid 925 sterling silver chains is available at Men's Silver Chains to explore every style available in solid 925 sterling silver.
See more: Types of Silver Chain for Men: Every Style Explained
FAQ: How to Make a Silver Chain
How to make silver chain without soldering: is it possible?
Yes. You can link jump rings without soldering and produce a wearable chain. The joins will not be fused, which means they can open during wear if the chain catches on fabric or is pulled. For a piece intended for regular daily wear, soldering the joins is strongly recommended.
What gauge wire is best when learning how to make a silver chain?
A gauge of 20 to 22 is the most practical starting point for most chain styles. Thinner wire produces a lighter, more delicate chain; thicker wire produces a heavier piece. The gauge also affects how easily the wire coils and how the rings close, so starting at 20 gauge gives enough material to work with while remaining manageable.
How much wire do I need when learning how to make a silver chain?
A standard 50-centimetre necklace chain requires roughly 2 to 4 metres of wire, depending on the link size and style. Larger links use more wire per link but fewer links overall. It is worth buying more wire than you estimate needing, as mistakes during the learning process are common.
Is it expensive to learn how to make a silver chain at home?
The material cost of silver wire is lower than the cost of a finished chain of equivalent quality, but the tool investment and time cost mean that making a silver chain at home is rarely cheaper than buying one at entry level. It makes more sense as a craft practice than as a cost-saving strategy.
What is the easiest chain style when learning how to make a silver chain for the first time?
A simple cable or belcher chain is the most accessible starting point. The links are uniform and the linking pattern is straightforward, which allows a beginner to focus on developing consistent technique rather than managing a complex pattern. More intricate styles such as rope or Franco chain require significantly more skill and time.
Final Thoughts
Knowing how to make a silver chain, and what it actually involves, changes how you look at the one around your neck. The process is precise, time-consuming, and deeply satisfying for those who invest in learning it properly. For everyone else, the value of understanding the craft is in knowing what a well-made chain actually represents: hours of skilled work, quality material, and a finished object built to last. The process of knowing how to make a silver chain is part of that appreciation. If you are ready to wear the result rather than make it, explore the full range at Men's Silver Chains, all crafted in solid 925 sterling silver.